Hey friends! It’s Darian from County Mama Cooking here today to share one of my all-time favorite snack recipes – easy homemade Peanut Butter Balls. These no-bake bites are a cinch to whip up and make the perfect portable snack for kids and adults alike.
In today’s post, we’ll chat about tips for making them, fun serving ideas, FAQs, and why I love having a batch of these balls ready to grab and go. Let’s dive in!
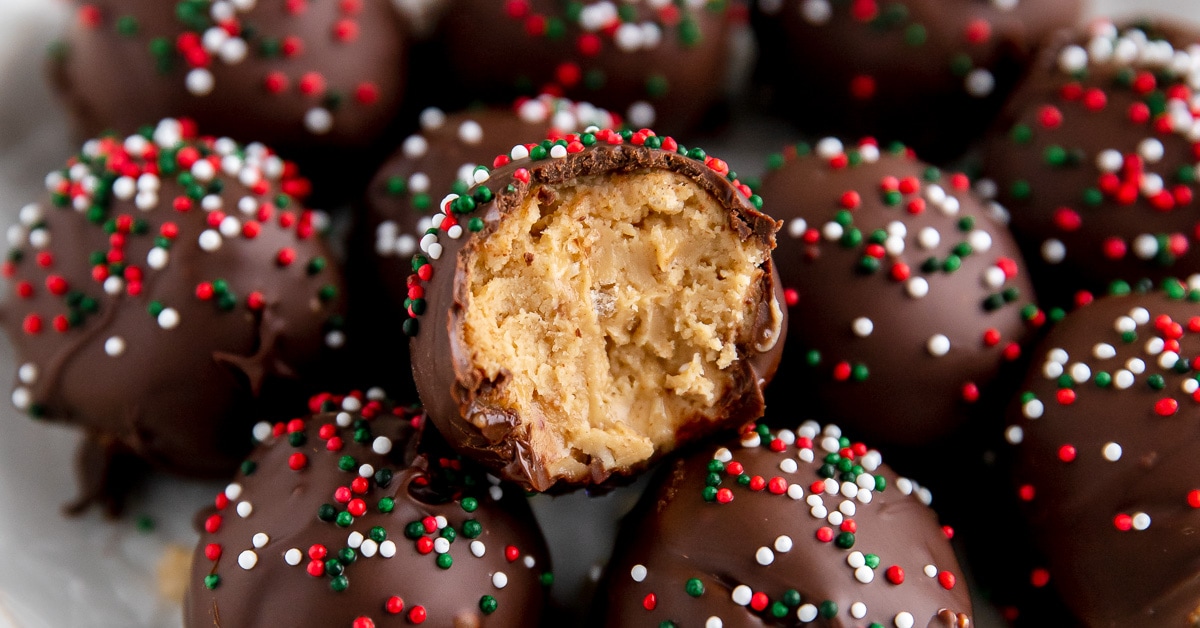
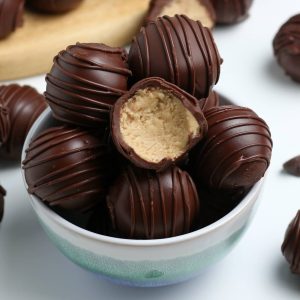
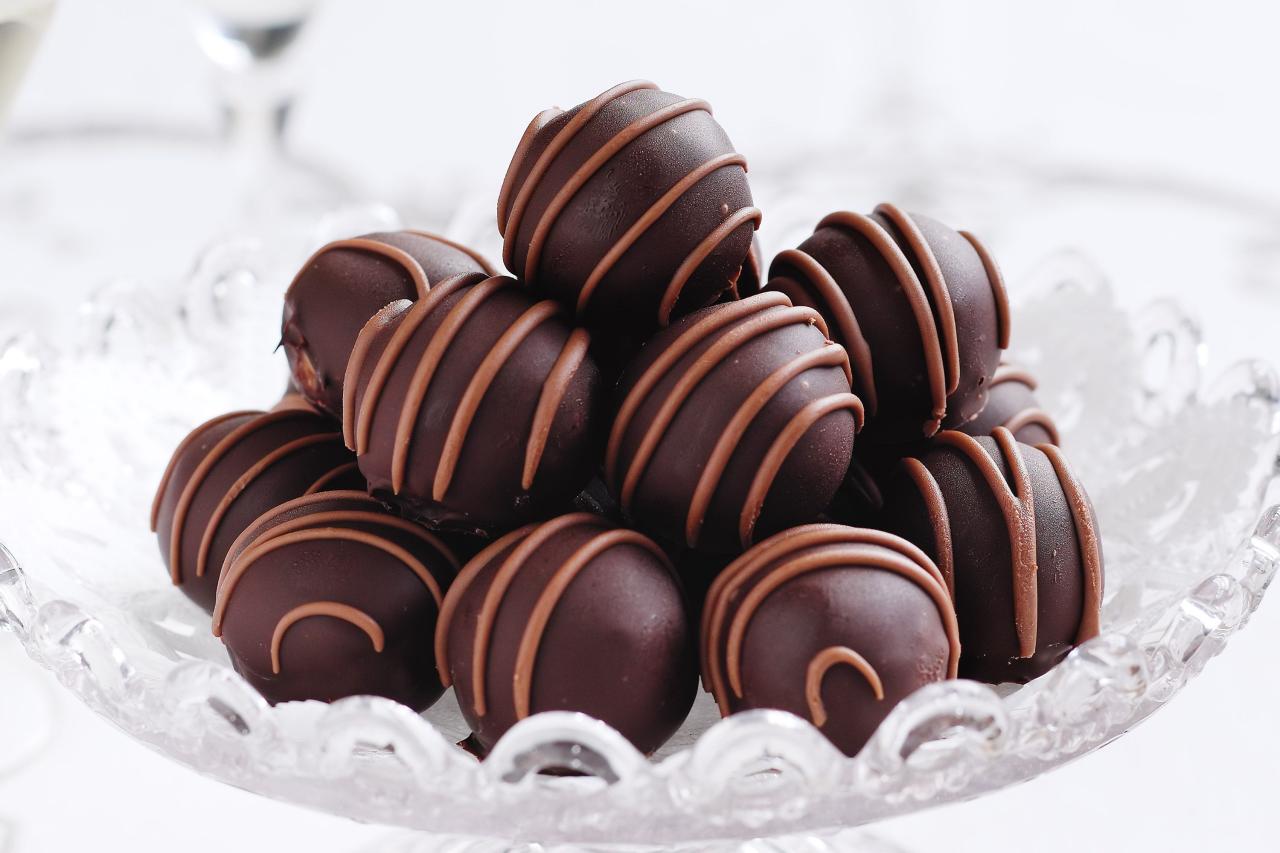
Peanut Butter Balls
Equipment
- 1 small to a medium-sized bowl
- 1 hand mixer
- 1 cookie scoop (a smaller ice cream scoop)
- 1 parchment paper-lined baking tray
- 1 fork
Ingredients
- ⅓ cup Butter
- 1 cup Peanut butter
- 1½ cups Powdered sugar
- 1 cup Chocolate chips
- 3 tbsp cream
Instructions
- In a small to a medium-sized bowl, add your butter, peanut butter, and powdered sugar.
- Using a hand mixer, mix it all together. You want the dough to be thicker, not to thin or else you will have trouble keeping them rolled into balls. If you find your dough is a little thinner then it should be, then just add a little bit more powdered sugar.
- To make your peanut butter balls, I suggest using a cookie scoop (a smaller ice cream scoop), that way you can ensure that all the peanut butter balls are equivalent sizing. Once you use the cookie scoop to measure out the balls, use your hands and just roll them around into a ball.
- Place all the peanut butter balls onto a parchment paper-lined baking tray. Once all the balls are rolled out, place the baking tray into the refrigerator for about an hour.
- Right before you remove the peanut butter balls from the refrigerator, get your chocolate ready.
- Meltdown your chocolate chips with the 3 tablespoons of cream.
- Using a fork, place a peanut butter ball in the melted chocolate and roll it around it ensure all sides of the ball are covered in the chocolate. Place the chocolate covered peanut butter ball onto the parchment paper-lined baking tray. Repeat this until all peanut butter balls are covered in chocolate.
- Once all completely covered in chocolate, place the baking tray back into the refrigerator for another hour before you eat.
- After the hour, remove from the refrigerator and enjoy it!
Video
Notes
Tips
While peanut butter balls are simple to make, here are some tips for making them flawless every time:
- Use smooth peanut butter for an easier to handle dough. Crunchy PB makes the texture too crumbly.
- Add the powdered sugar slowly to get the dough to the right consistency – thick but still moldable.
- Chill the dough for at least 30 minutes before rolling into balls for easier shaping.
- Roll balls to an even size so they bake and coat evenly. Aim for 1-1.5 inches across.
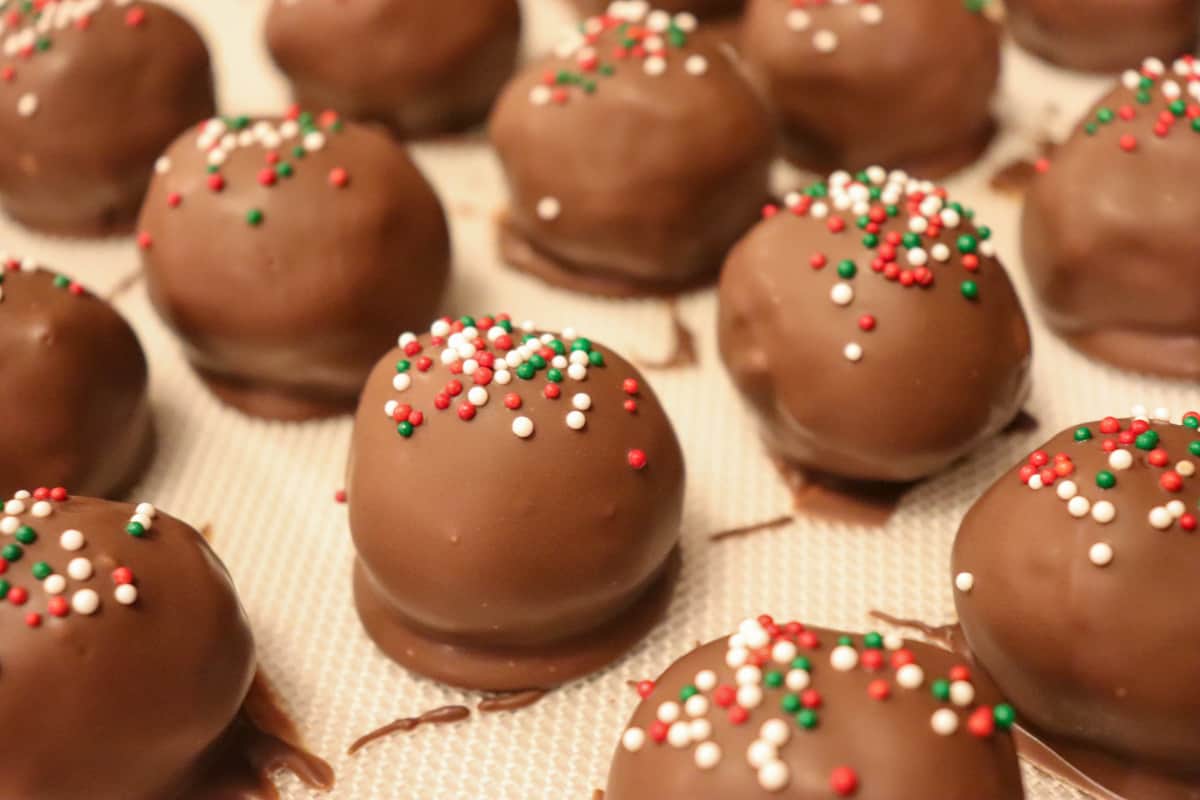
- Dip the balls fully in melted chocolate to completely coat before topping with any sprinkles.
Fun Serving Ideas

The great thing about peanut butter balls is they can be served in so many fun and creative ways!
- For parties, make them bite-sized and spear them onto mini decorative skewers for easy pick-up finger food.
- Roll them in different coatings like crushed pretzels, graham cracker crumbs, shredded coconut, or chopped nuts for fun textures.
- Drizzle them with melted chocolate, peanut butter, or caramel and top with sea salt for a salted sweet treat.
- Layer them in glasses with whipped cream and crushed cookies to make tasty trifles.
- Place them in mini cupcake liners and decorate with sprinkles or candies to look like cupcakes.
- Create a sundae bar with different toppings like sprinkles, chocolate chips, crushed candy bars or berries for DIY ice cream sundaes, using the peanut butter balls as the “ice cream.”
- Gift wrap them in small cellophane bags tied with ribbon or package them in colorful tins for the perfect edible gifts.
- For parties, skewer them on sticks and stick them into an orange, pineapple, watermelon or apple fruit sculpture for a festive fruit bouquet.
The possibilities are endless when it comes to serving these crowd-pleasing peanut butter treats! Let your creativity run wild for a fun twist on these classic candies.
FAQs
Here are answers to some common questions about this recipe:
What kind of peanut butter works best?
Smooth peanut butter is easier to work with than crunchy. I recommend using a natural-style peanut butter for the best flavor.
Can I use almond or sunflower seed butter instead?
You sure can! Just adjust any other ingredients as needed to get the right consistency.
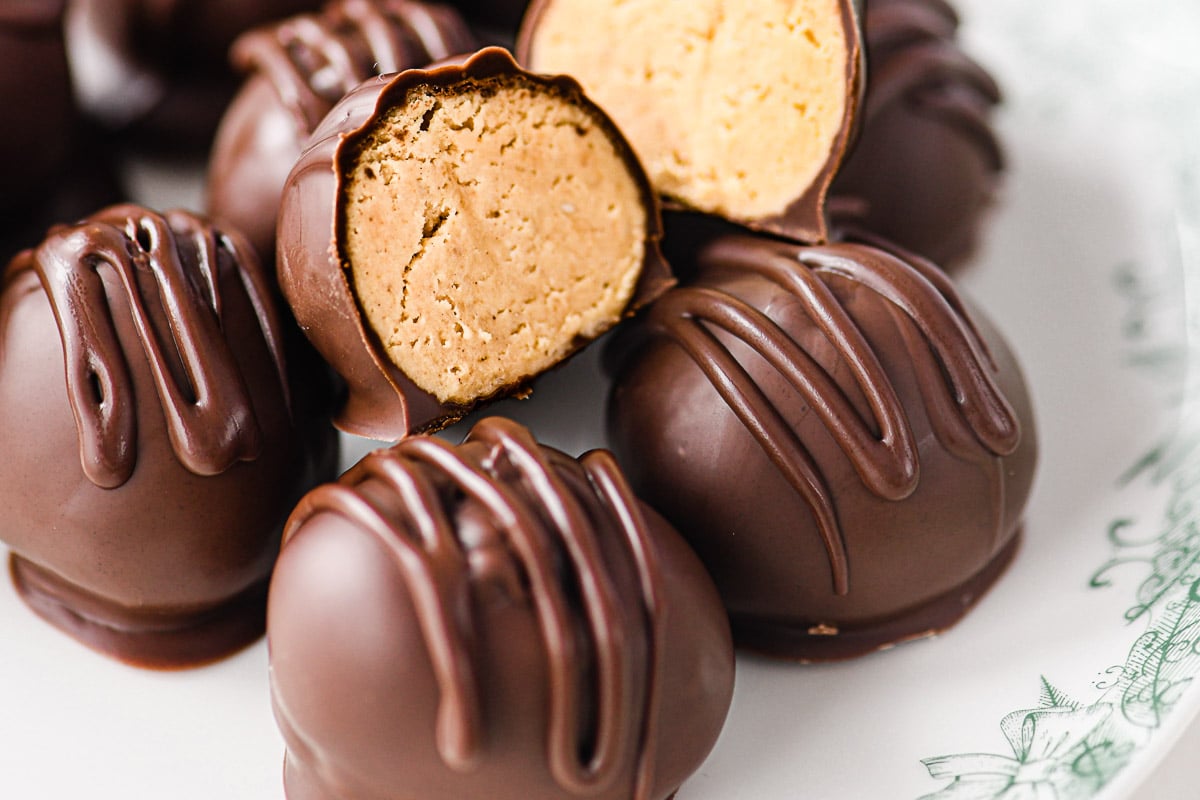
How do I get the chocolate coating smooth and thin?
Make sure the chocolate is fully melted and use a spoon to drizzle a thin layer over each ball.
My balls fall apart when I dip them. What should I do?
Chill the peanut butter balls for at least 30 minutes before coating to help them hold their shape.
Can I decorate them with sprinkles or nuts?
Absolutely! Feel free to roll them in any toppings after coating in chocolate.
How can I gift wrap peanut butter balls?
Place them in small candy cups or wrap individually in plastic wrap or small muffin liners.
Can I freeze them?
You sure can! They will keep for up to 3 months in the freezer. Thaw before serving.
Why I Love Having Peanut Butter Balls On Hand
Friends, having a batch of these peanut butter balls ready to go has been a game changer for my family. They are:
- Kid-approved – My little ones Zoey, Scarlette and Dain gobble them up!
- Mess-free – No sticky fingers or faces like with regular peanut butter.
- Perfectly portable – They are easy to toss in lunchboxes, bags, or the car.
- Made with pantry staples – On busy days, I probably have all I need to whip up a batch.
- Customizable – We love rolling them in different coatings like sprinkles, coconut, or crushed pretzels.
They are our perfect grab-and-go snack for hurried mornings, road trips, and fueling busy days. I hope you’ll give this classic recipe a try – they might just become your new favorite snack!
Have a great week, friends. Talk soon!
Darian